Saturday, August 6, 2011

Sew Time! Chalk Board

I found this from a thrift store !
BEFORE

When I bought it, it did not have chalk board paint on the bottom, it had disappeared??  That must be why it was not wanted??  I wanted it!!
 I wanted to try doing a chalk board so this piece looked perfect.  See what you think?


AFTER


I found by putting 4 coats of chalk board paint and waiting the 3 days before using, did work!
and adding a magnetic top finished it for me!
Beware:  After using this paint, you start looking everywhere to USE IT!

                                Now I must list my sewing
                                    projects and get going!

Linking to:
http://acreativeprincess.blogspot.com
http://funkyjunkinteriors.blogspot.com

http://debbie-debbiedoos.blogspot.com/         Newbie Linkie Party
http://linda-coastalcharm.blogspot.com/        Nifty Thrifty Tuesday

Monday, August 1, 2011

Sunburst Paint Stick Clock DIY

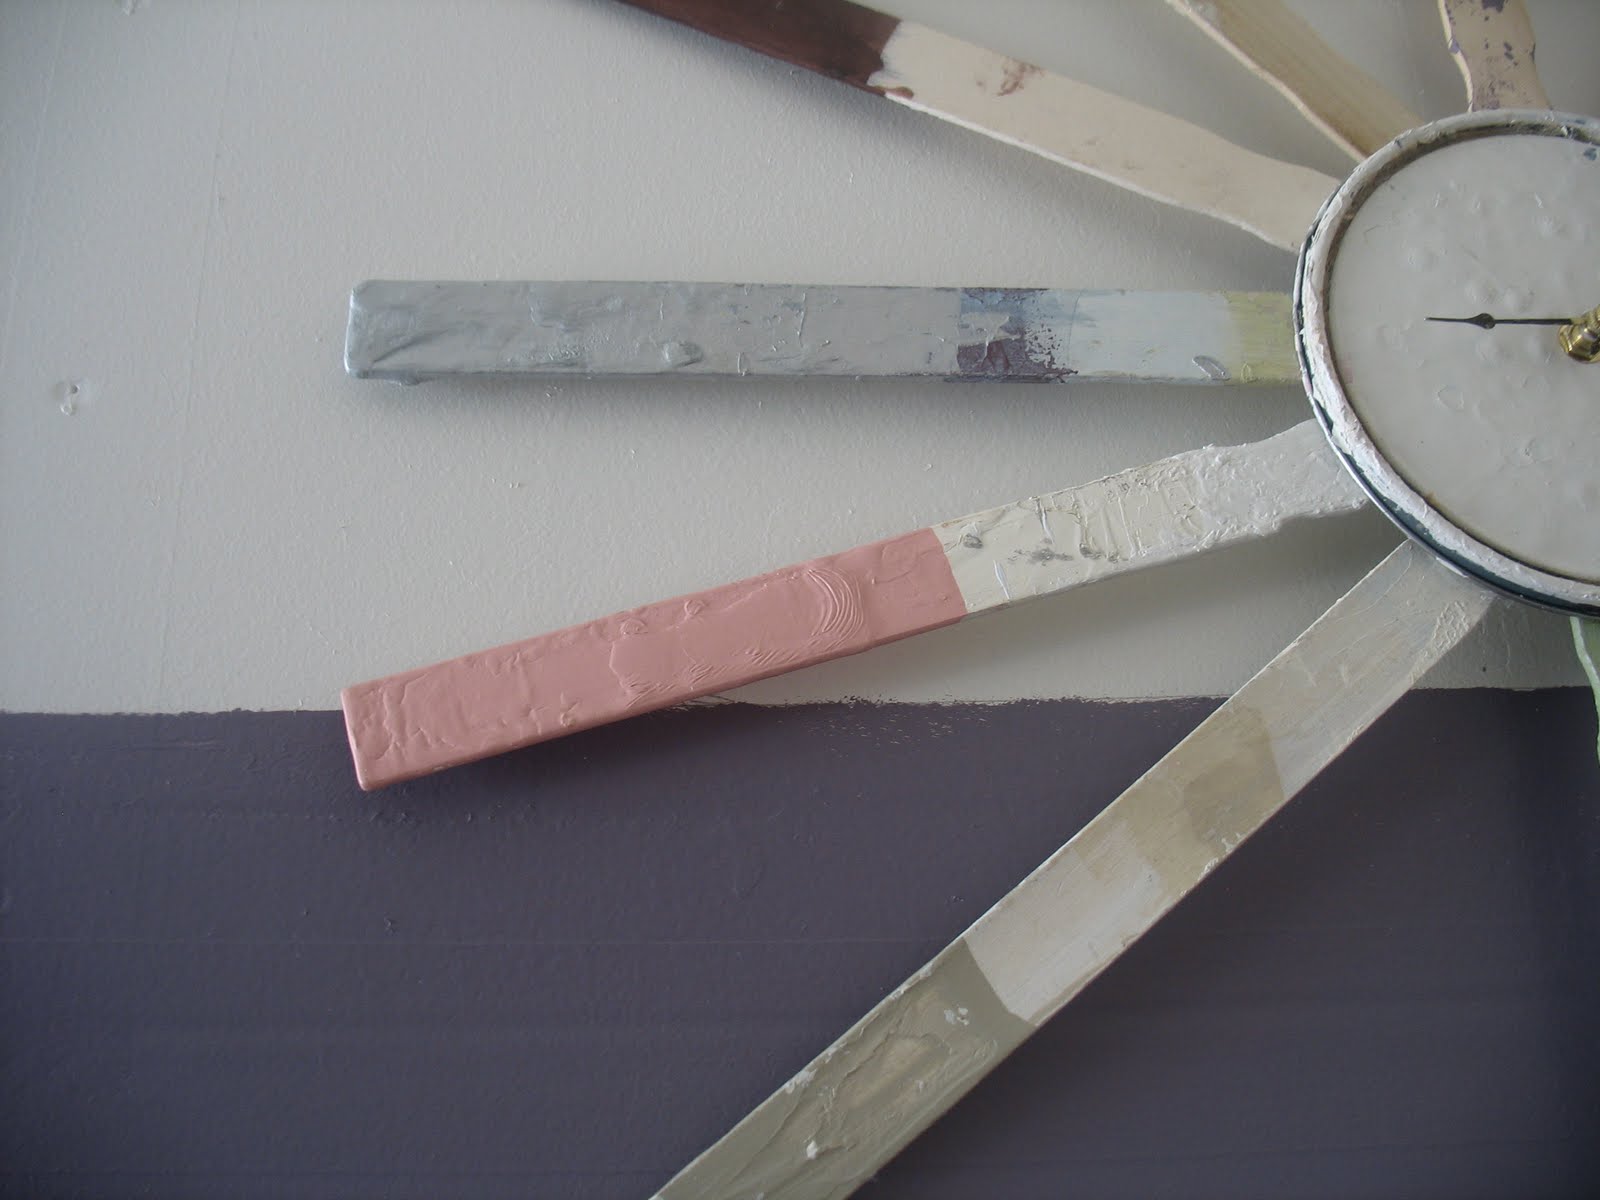
PAINT STICKS,  PAINT STICKS,  PAINT STICKS!!!!!!!!!!!
How many times did I want to know the time when working on my Redo Furniture, always with messy gloves full of paint trying to use the cell, not to mention going in the house with paint tracks from my feet or gloves to check on the time. SOLUTION a clock in the GARAGE!!!
Now I have seen sunburst mirrors in magazines and from DIY bloggers, why not a sunburst clock from all my messy paint sticks??


I LOVE IT!!!!!!!!
More pictures below, cuz it makes me smile and so handy now!!! 
                                                                      BEFORE
OK, Now Guppy lumpy paint sticks from my Redo's
plus 1 paint lid some hot glue and of course from Michael's
a clock part!

It was hard to wait for the glue to dry, so anxious to put the batteries
in,  hurry, hurry hot glue!
                                                                     AFTER


The clock is hanging on the only bare wall in the over stuffed garage from my Shabby Stuff, Husband Stuff and More of my Stuff..... The only clear spot is where he parks, that's what keeps the peace! 
So the paint job you see on this wall was done quickly, I had to do something to cover the sheet rock and tapping on the wall for some photo's.  Unfortunately I am unable to get big pieces of furniture into the house for photo's!
I am just lucky enough to get them into the garage and the doors down before everyone can see the mess!

Thanks for looking!  Time to Go!

I am linking in 2012 to:
http://commonground-debrasvintagedesigns.blogspot.com/

http://bec4-beyondthepicketfence.blogspot.com/


Linking to:
http://funkyjunkinteriors.blogspot.com/  Best of 2011

Monday, July 18, 2011

Button Plugs Saved the Redo!

BEFORE

Do you see the button plug missing?  Don't be afraid to purchase an ugly unwanted piece due to this small defect!

I Knew this sad little night stand could be just the one I needed in the guest room!  Actually, I was planning on selling this piece, but you know how it is, we seem to find a place for some of our work!

Sanding drawer fronts and top for staining!
You can see I work where ever I can!
Now this is the little hole that the bellow button plug will fix everything
they come in different sizes and of course Home Depot or Lowe's
my fav's have them

                                                                            
In this picture, it looks larger than the other buttons
but it is just right!
Don't ya love wood glue!

You can see the stain I used, LOVE IT!


OK, Now I wanted to try the fabric to cover the drawers as
some clever bloggers have done!
I found a little secret, The hard way!
My first attempt, the fabric was a little wrinkled, even with my cute little roller!
As I was applying the mod podge and using some water for my sponge
for application the mixture was milky
 SO
I dipped the fabric in the water
and  squeezed out the excess and put the fabric in the drawer
on top a little mod podge waiting and :) it went on wonderfully
and no wrinkles at all

Kitty "Reno" I thought was asleep, but he does not miss a project!

"No" don't drink that!
AFTER


Spare Bedroom, yes nothing on the wall yet, I will get to it!
By adding this to the room, I now have two night
stands!  I am glad I kept this one!
I also used the Vaseline technique on the black!
On to the next project :)

I hope this Redo may have helped someone, any questions, just let me know!

Linking to:

http://funkyjunkinteriors.blogspot.com/

Saturday, July 16, 2011

Light My Fire! Matches DIY

I have an easy Decor Idea which I love,  since I have Matches that I have collected since 1969 and they have been in a plastic bag from Home to Home!

Finally, I put them in a Big Jar!   I have gotten so many compliments plus the conversations from the matches that they can see through the jar.  I love it and finally they are being seen and not just a collection that is out of site.

Tuesday, July 5, 2011

New Available Side Table


                                                                  BEFORE     

I knew this piece had great possibilities, heavy, sturdy and look at all the drawers, not to mention the 2 door cabinets, I considered removing the doors for baskets?  But pictured it painted with the wood cut outs adding a special look for the piece.   This piece could be used for a Side Table or Buffet?
  I
 I sanded the top and used Mini Wax Rosewood stain, then Mini Wax wipe-on-poly, which I love, so easy to use.  The bottom was painted with a creamy Beige and distressed with sanding paper and also a sanding block.  I did replace the original hardware, but not all the pieces.  I like the results and my supervisor kitty "Reno" does too!  It looks possibly a little French or Shabby Tuscany?

                                                                        AFTER A
.


 I love the great pictures you blogging gals take in the home, all lovely and model home style.  I am jealous, but excuse by garage scene photo shots on most of my pictures!  I did paint one garage wall covering the drywall and tape with extra paint!  Only the light items can be taken outside or inside for photo's!   Where is that good looking strong guy when you need them??  I have looked right and left from the garage, no one in site when I am struggling! 
                    
Thank you for looking, now on to the next piece!

Linking To:)
http://primitiveandproper.blogspot.com/

http://modvintagelife.blogspot.com

Friday, July 1, 2011

Shabby Chic Redo and Redo again Dining Table!

Hello, I am so excited I finally finished this Dining Set!  If you read my previous posting on the dilemma on what should I do to Redo this Beautiful Antique Set, well finally I have finished the job.

This was a very vintage 1924 Crocker Chair Company set  6 chairs and 3 leafs which I purchased and restored.  I listed this as an antique on Craigslist.  No success and my Shabby Sole told me to do it in the Shabby Style in the first place, but that is a long story to why I didn't.  Well now it is Shabbied and I love the results!

I want to thank Kristy at http://4theloveofwood.blogspot.com/ she was the only one to comment on my post and I really appreciated that.  She was on the same creative thought as myself, so off I went to buy drop cloth and get to work painting  the set.


                                                                             BEFORE

Sanding the purchase

6 chairs which I had to remove the blue seat covers
and found a second cover that was too stained, so I put on the maroon material
for the first redo.


This came out very nice after 4 coats of Walnut stain
which is the original color.  I had 3 leafs, which also were sanded and stained.

First Redo

2nd Redo and all Shabbied
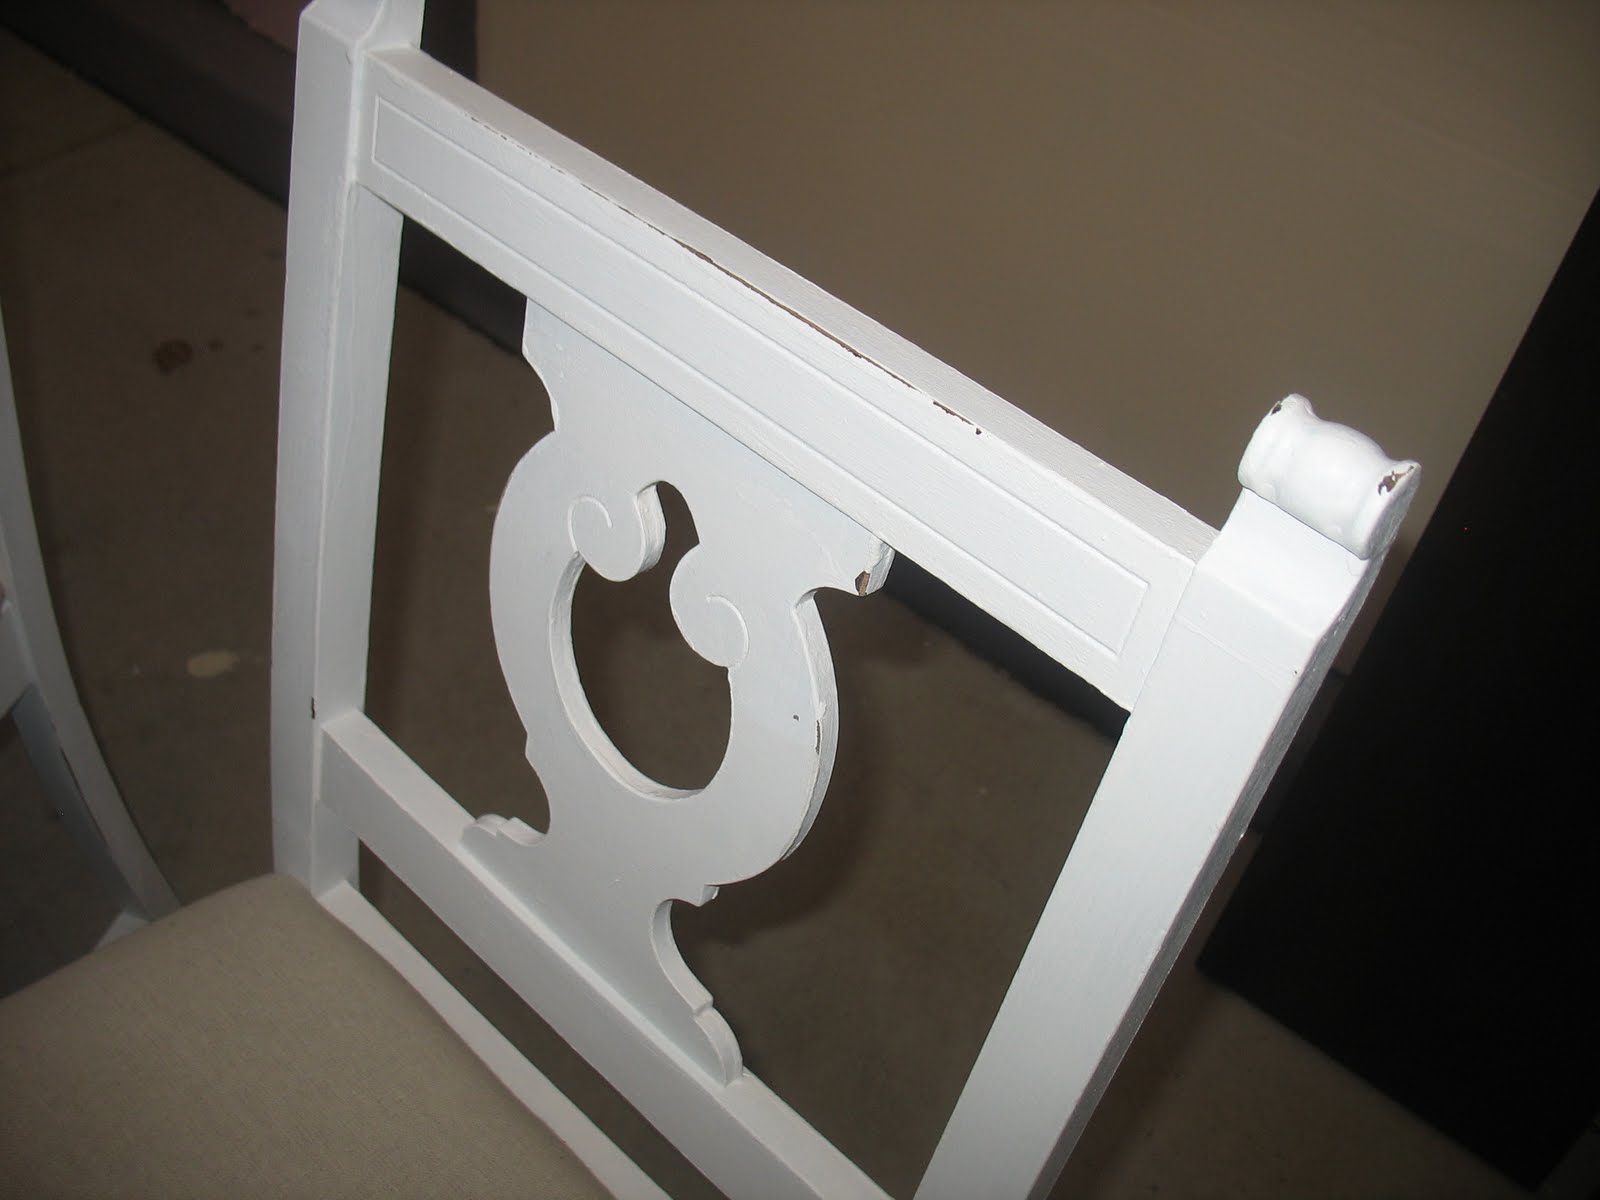
drop cloth seat covers, white base and white chairs
lightly distressed. 

Captain chair, wonderful wood details
notice some of the leafs in the background


All finished and I am very glad to have my Shabby mind free to work on other pieces of furniture,
I feel good about this and the new life this set does have!
Thank you for looking!
Update:   This Set was sold in 16 days to a Wonderful Young Family, that makes me very happy it has a Home! Shabby Success!  Thank you again Kristy @ 4 the Love of Wood! 
Linking To:
http://thediyshowoff.blogspot.com/

http://betterafter.blogspot.com/

http://www.sistersofthewildwest.blogspot.com/