Monday, October 8, 2012

Laundry Dryer Lint DIY

What do Butt Wipes and Dryer Lint Have In Common?

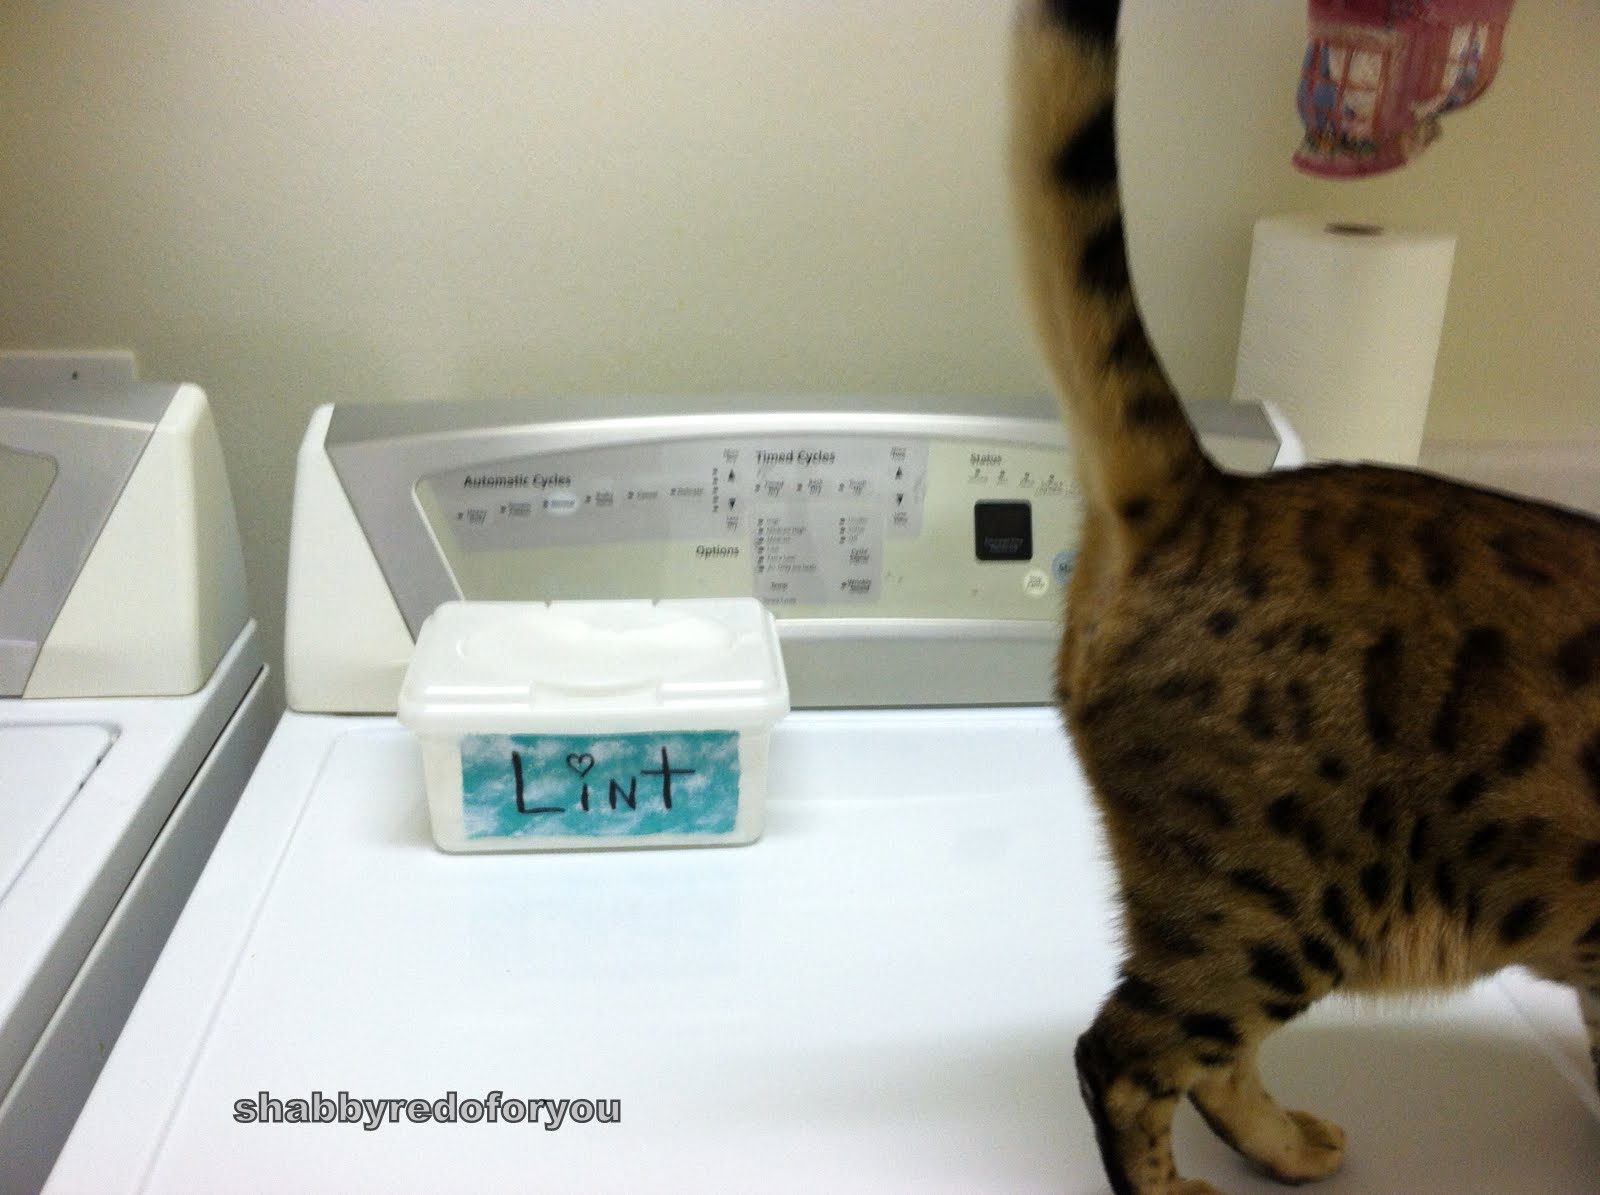
Nothing really, just trying to get your attention!  I don't know about you but I do not want a trash can in my laundry room, especially because there is not a space for it!  I am always pulling lint from the lint trap and going to the closest point, which is right across the hall, into the bathroom to throw away the unsightly clump of lint.  This is my quest bathroom, so it is not that pleasant to look at, even though I do empty the trash can often!  Hey maybe there is a common ground on the lint and butt wipe!??
Well one day, when one of my Baby wipe containers, or Butt wipe container depending on your household, was empty I thought of a idea.  I am sure there are a lot of ideas to store items in these!


 Why not put one on my dryer? YES,  pop open the top and push in that lint and it's even out of sight too! Works for the old dryer sheets too!  I really like mine and maybe it could work for you.  Have I gone Butt crazy? 
I just painted over the label and
marked Lint!
Easy Easy!


Yes, that is Kitties Butt!   She is adding to my story!

Just pop in and close the lid!   Simple things like that make me happy!

I do want to mention that their are some talents out there that use this
stuff!  I do like to keep things  and reuse, but I will be tossing mine!

Interesting check below!


Lint Art


source

Unknown source
Scary!


source

Crafty


                                   And now for some not so artful lint!!
                                   Dryer Lint can be dangerous!!!  :{


source
Very Important to remove that Lint
Every time!
                                                                   
                                       Happier Picture to leave you with!
"Sheba"
Our Bengal cat wondering what I will do next?
I thought I should show more than her Butt!

thanks for looking, would love to hear your
comment! Take care!

Linky Party @
Heather and Vanessa

http://www.atthepicketfence.com/2012/10/its-inspiration-friday-no-86-welcome.html
                                                                                

Tuesday, September 11, 2012

China Hutch with Chicken Wire and Decoupage Reciepes


SHABBY Vintage CHINA HUTCH

 a little bit Country, a little bit Chicken and a lot of Recipes!


I can't say this was easy, if you have any questions
let me know, 
I just had to add a chicken to the recipes!
All recipes came from a Norman Rockwell
cookbook!


All knobs, except top two, were painted and patina with
a burgundy/ red  touch of paint.
This picture does not show the detail :{  Camera for Xmas
Santa!!!


I had picked up these knobs in my travels, I thought they looked like
chicken feet marks on them?   Well I thought so, and the colors were perfect!
This was my inspiration for the knobs I painted.


finally, got a clear picture, and with
the iPhone for the above knobs!!
 great camera!
BEFORE
 
 
Two pieces, so it was stored backwards, hey, just
lucky to get it in the garage!


Ugly, but liked the circles, and I was going to save them for a future
project, maybe paint , who knows?   I told myself
to throw them in the trash!  So I did!
Well,
Darn, the trash man came already!  So they are GONE :{
I just know I will need them!???


i WISH i HAD TAKEN THIS PICTURE WITH MY iPhone!
When I  sweet talked the husband in moving it outside
for this picture,  I only had so much time before it went back in!
If you know what I mean!  I was lucky enough to run in the house and grab one
chicken item to put on the hutch!
No retaking now by moving it out again, sweet talk works
one piece, one time only!
 
TIP
I always save (in a baggie sealed tight) my last
used brush, foam brush or what ever I am using!See, I found a few small touch ups!
 I had just the right amount of
stain on the foam brush to fix it.  Honest, the brush will stay for days, especially paint, but poly no!

Until next time,


Linky Party @


http://primitiveandproper.blogspot.com/2012/10/poww-111-furniture-link-party.html

Shabby Coffee Table with Decoupage World Maps

Maps on My Coffee Table
After
 
and
 
 
Before
 
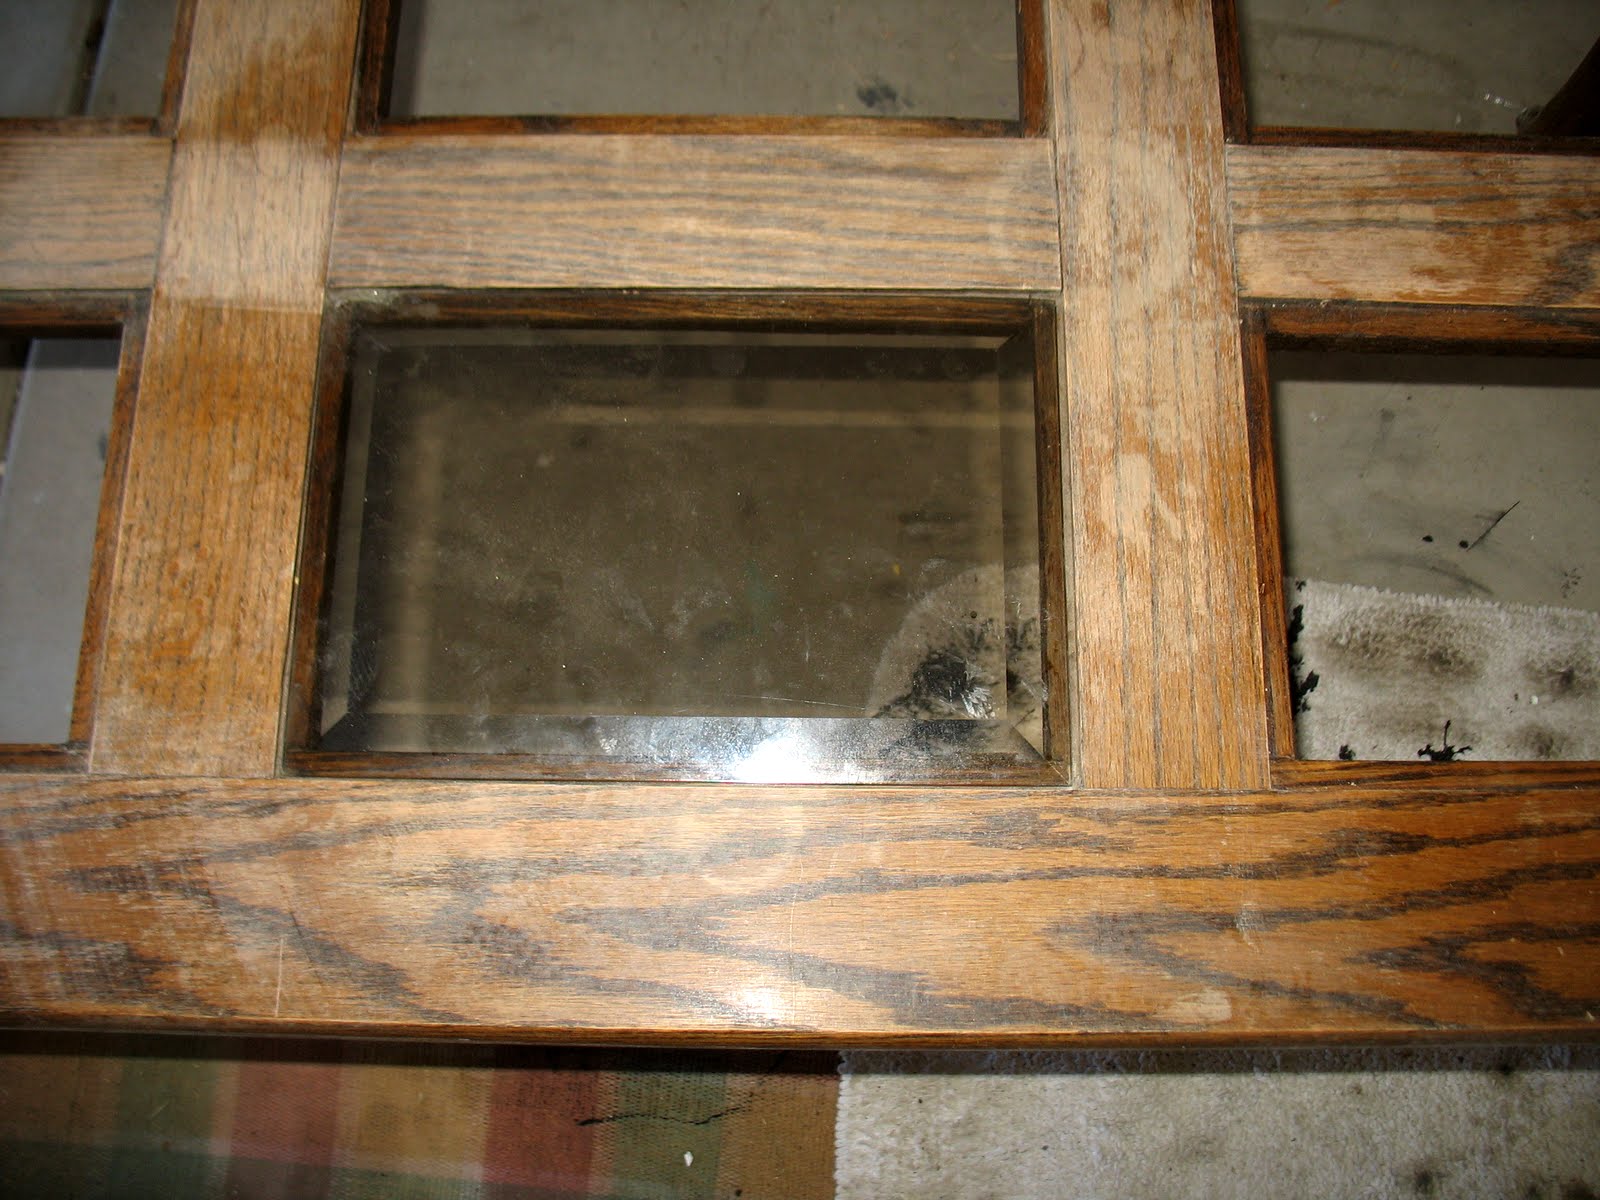
Do you see the glass insert?  The beveled glass was dark
in color, well, this wood not do, but world maps wood!
( spell check must have liked that, they didn't
even correct it! )
So I decoupaged on the flat side of the glass.
 
I love Claw Feet, not to mention the Curvy Legs, I feel lucky to have found this piece!


What do you think?  Do you like the Map
Idea?
 

COFFEE,  TEA,  BEER, OR  WINE,  I am ready for Worldly Conversation!

 Great Linky Parties I am Joining:

 
http://www.savvysouthernstyle.net/2012/10/wow-us-wednesdays-89.html

Saturday, September 1, 2012

Shabby Little Table Redo

The Little Table That Could!


She is looking good now, but before was an outcast and unwanted!  She keep saying "I'm so dainty and cute, save me!"
She was sanded, painted, lightly distressed and her
top was saved!  see below!
After all the veneer was removed I put
Vintage textured wall paper on top.  Decoupaged and
varnished.
 
BEFORE
Yes, i DID MENTION HER TOP NEEDED TO BE SAVED!

My husband proudly brought her home from a garage sale
to surprise me, you can say I was SURPRISED!


Vintage Door Knob DIY

                         A Bouquet of Vintage Knobs


My Bouquet of Precious Door Knobs
I wanted to do something with my collection of Knobs.  This is easy, and I will tell you all the supplies at the end, first I want to share some photo's!

Do you see the keys I hung?
One very vintage & long key, all old, yes
more items I collect!


For now they will sit here in the entry way!

I plan to paint this Antique table on wheels, that
will be another post, still thinking of which color to use
and just how I want to do it?

Supplies
 4x4 untreated wood post, I cut 81/2 inches
Paint, poly, several round dowels cut to different lengths,
Vintage knobs, a few drawer pulls, keys, twine and
vintage door knob plates.

All I did was drill scattered holes on top of 4x4 for round dowels.  Painted wood block distressed aqua and also painted dowels green.  I only polyed the wood block.  Screwed on the plates, applied the knobs on the dowels, tied keys on with twine,  and happiness was mine!

Have a good day!
                  

    Linking To:
  
PhotobucketI'm a fan of my 1929 charmer blog!Funky Junk's sat nite special